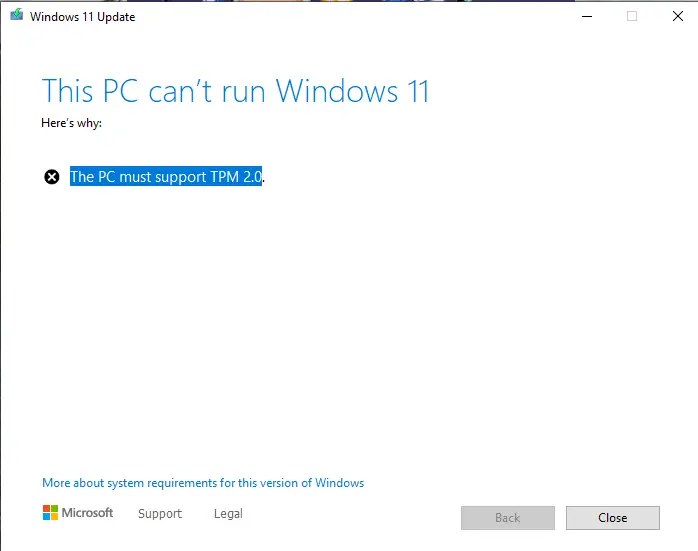
Windows 11 preview builds are available to download and install on Microsoft website or through the Windows insider program. Are you trying to install Windows 11 on your Windows 10 computer with the insider program and you are getting this The PC can’t run Windows 11 The PC must support TPM 2.0 error? Many people are facing the same issue as well.
TIP: If you are facing System related issues on Windows like registry errors or System files being deleted by virus or System crashes like us, we recommend downloading Restoro software which scans your Windows PC for any issues and fixes them within a few minutes.
Let’s learn how we can easily fix it with the help of our tutorial below.
This Windows 11 Update installation error will look like this.

How To Fix The PC can’t run Windows 11 The PC must support TPM 2.0
You can go through the below method step by step to fix the issue.
2. Edit registry file to fix TMP 2.0 issue
1. To Create a registry editor file with all the registry commands needed to fix the TMP 2.0 issue and run it.
2. Right click and choose create new text document and save it as .reg file at the end instead of txt and copy the below code and paste it and save it as reg file.
[HKEY_LOCAL_MACHINE\SYSTEM\Setup\LabConfig]"BypassTPMCheck"=dword:00000001"BypassSecureBootCheck"=dword:00000001[HKEY_LOCAL_MACHINE\SOFTWARE\Microsoft\WindowsSelfHost\Applicability]"BranchName"="Dev""Ring"="External""ContentType"="Mainline"[HKEY_LOCAL_MACHINE\SOFTWARE\Microsoft\WindowsSelfHost\UI\Selection]"UIContentType"="Mainline""UIBranch"="Dev""UIRing"="External"
3. Now run the registry file and the updates to the registry will be done.
4. Now go to the Windows update settings page and redownload and run the windows 11 installation process to check whether the TMP 2.0 windows 11 checking issue is gone. If not, continue with the next step of replacing the dll file.
2. Extract and replace dll file
We can also fix the TMP 2.0 issue by replacing the dll file of the Windows 10 installation. To do this, follow the below steps.
1. Download the dll file from https://github.com/CodeProf14/Fix-TPM and extract it.
2. Now copy and paste the dll file into the Sources folder of Windows by going to C:\$WINDOWS.~BT\Sources on the file explorer.
3. Now restart your computer and re-download and install the Windows 11 Insider preview.
4. Now you won’t get the “The PC must support TPM 2.0 when running the installer.”
5. Now the Windows 11 installer will start and install the latest version of Windows 11 insider version. All your files will not be deleted but be sure you backup your important files in desktop and documents folder just to be safe.
6. Now your computer will restart several times.
7. Once the Windows 11 is installed you will be shown the new login screen where you can login with the same old windows password.
PRO WINDOWS TIP: If you are frequently having Windows System issues on Windows Computer due to registry issues, malware issue we recommend downloading and using Restoro software which scans your Windows PC for any issues and fixes them within a few steps.
GOWTHAM, HOWTODONINJA.COM
I hope you were able to install the Windows 11 preview build on your Windows 10 computer with the help of our tutorial. If you found it helpful, don’t forget to share it on social media.
Also, leave your comments below if you are still facing the TMP 2.0 error on your Windows 11 installation. We will help you out.

He is the founder of howtodoninja.com and is an experienced tech writer and a cybersecurity enthusiast with a passion for exploring the latest technological advancements. He has 10 years of experience in writing comprehensive how-to guides, tutorials, and reviews on software, hardware, and internet services. With an interest in computer security, he strives to educate users by writing content on how to use technology, and how to also protect their smart devices and personal data from cyber threats. He currently uses a Windows computer, and a Macbook Pro, and tests hundreds of Android phones for writing his reviews and guides.
