Do you want to know how to screen record on Galaxy S10? Screen Recording is very helpful to record a video of your mobile screen along with your voice and share it with your colleague or friends easily on WhatsApp Chat or other social media.
Let’s learn how to do a screen capture on Samsung Galaxy S10 with the help of our step-by-step tutorial.

With the latest release of Samsung Android 11 and 12 also known as Android Q (OneUI 2), OneUI 3 (Android 13), there is an inbuilt screen record option (Save Screen Action buttons) on Samsung devices. Let’s learn how you can use that to record your screen and also your audio with the tutorial below.
IMPORTATN NOTE : Some Samsung phones will have the inbuilt Screen recorder option disabled. For this, follow the second method.
How To Screen Record on Samsung Galaxy S10
Screen Recording on Samsung Galaxy S10 can be done using two different methods. Let’s learn them one by one.
Screen Record on Samsung Galaxy S10 With Inbuilt Screen Recorder
![]()
- To access the screen recording function on Samsung Galaxy S10, swipe down from the top of the screen to access the quick toggle options on the notification panel window.
- Then find and long press on the Screen Recorder toggle function, like in the screenshot shown above.
- This will open the Screen recording settings page, where you can change the screen recording quality between 480p, 720p, and 1080p resolution.
- For sound settings, inside the sound settings option, you can choose No sound, Media Sound, Media Sound, and Mic options.
- You can also select the recording of front-facing camera for selfie video on the screen recording settings from small to large by moving the slider.
- When you are done setting up the screen recorder, click on the Screen Recorder toggle on the notification bar. A dialogue box will appear to choose your Sound Settings. Click on the sound source and click on “Start Recording”. If the Screenshot toggle is not present, then proceed to the next method.
- The screen recording will start and you will see a countdown timer and then you will see a floating widget with the Pen tool with color to draw on the screen and also you can select the Selfie front camera video to be displayed on the screen.
- Click on the Stop icon on the right side of the floating widget to complete the recording.
- The screen recording will be saved automatically on your Galaxy S10 Gallery App inside the Screen Recordings Folder.
- You can now share the recorded video on social media like WhatsApp, Facebook, Twitter, etc.
On older Samsung devices, the inbuilt screen recording option is not available. So we need to download a third-party application to record your device’s screen.
How To Record Screen on Galaxy S10 With A Screen Recording App
- Go to the Google Play Store on your Galaxy S10 device.
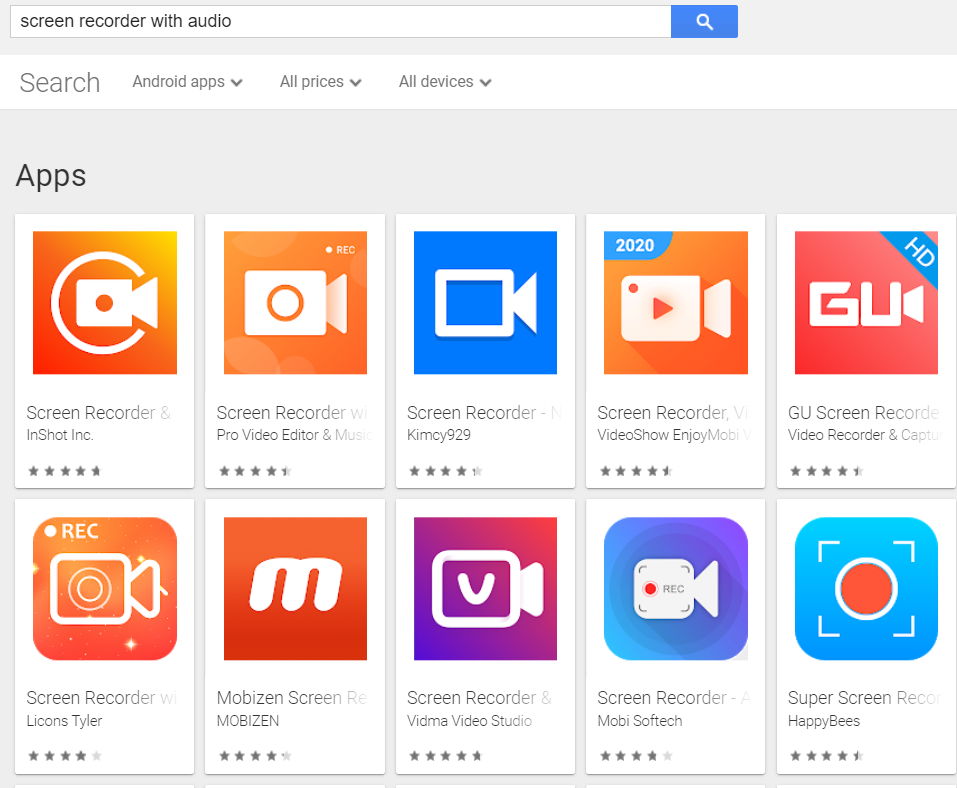
- Then search for “Screen Recording App with audio” on the search bar and hit go. Or Visit this Google Play Store URL if you are on a desktop browser.
- Now select any of the listed screen recording apps that you like and click on install.
- After installation of the Screen Recording app, to record the screen of Galaxy S10, open the Screen Recorder app and click on the start button to start the screen recording. Sometimes, these options will be available on the notification panel itself.
- That’s it, you have successfully recorded your Galaxy S10 screen with our tutorial.
Samsung Galaxy S10 Screen Recording FAQs
What is screen recording on Samsung Galaxy S10?
Screen recording on Samsung Galaxy S10 is a feature that allows you to capture everything that is displayed on your phone’s screen, including video calls, gameplay, and app usage.
Can I customize my screen recording settings on Samsung Galaxy S10?
Yes, you can customize your screen recording settings on Samsung Galaxy S10. You can choose to record audio from your phone’s microphone, system sound, or both. You can also choose the video quality, orientation, and set a maximum recording time.
Where are my screen recordings saved on Samsung Galaxy S10?
By default, your screen recordings are saved in the Gallery app of your Samsung Galaxy S10 under the Screenshots and screen recordings folder. You can also find them in the Samsung folder on your phone’s internal storage.
Can I edit my screen recordings on Samsung Galaxy S10?
Yes, you can edit your screen recordings on Samsung Galaxy S10 using the built-in video editing app, Samsung Video Editor. You can trim and add music, text, and effects to your recordings.
Are there any third-party screen recording apps for Samsung Galaxy S10?
Yes, there are several third-party screen recording apps available on the Google Play Store that you can use on your Samsung Galaxy S10, such as AZ Screen Recorder, DU Recorder, and Screen Recorder & Video Recorder.
Yes, you can share your screen recordings on Samsung Galaxy S10 via social media, messaging apps, email, or Bluetooth. You can also upload them to cloud storage services like Google Drive or Dropbox.
How to Enable Screen Recorder in Samsung Galaxy S10?
To enable the Screen Recorder toggle on Galaxy S10, edit the quick toggle options using the edit button, and find and add the Screen Record button to the toggle area. After this, the toggle will show up in the notification panel.
Can you screen record with audio on Samsung Galaxy S10?
Yes, you can use the screen recording option on Samsung Galaxy S10 to record the screen along with the audio using the Audio recording option present in the screen recorder.
Don’t forget to read our other tutorials for Samsung Galaxy S10
I hope you were able to successfully do a screen recording on your Samsung Galaxy S10 with the help of our tutorial. If you liked it and found it helpful, kindly share it on social media.
Also, don’t forget to leave your valuable comments below if you face any problems when recording your screen on Samsung Galaxy S10.

He is the founder of howtodoninja.com and is an experienced tech writer and a cybersecurity enthusiast with a passion for exploring the latest technological advancements. He has 10 years of experience in writing comprehensive how-to guides, tutorials, and reviews on software, hardware, and internet services. With an interest in computer security, he strives to educate users by writing content on how to use technology, and how to also protect their smart devices and personal data from cyber threats. He currently uses a Windows computer, and a Macbook Pro, and tests hundreds of Android phones for writing his reviews and guides.
