Maytimes when you wanted to record your desktop on your computer and don’t know which software to you.
But your most trusted media player has this feature built into it. Yes, the VLC media player has an in-built screen recorder which you can use to record your desktop without downloading any other screen recording software.
VLC can also screen capture along with an audio input. Let’s see how you can do these.
Also learn : How to Download Online Video with VLC Media Player
How To Record Desktop using VLC on Windows PC
- When you are ready to record the desktop on your PC, Open the VLC application and go to the Media Menu option at the top and Choose the Open Capture Device settings or press the Ctrl + C shortcut option.
- In the capture mode select Desktop.
- Under the Options select your desired frame rate to 30fps to 60fps values. These values will work fine.
- Then click on convert / save option and a Convert window will appear. In that, in the destination option, you can choose the file destination using the browse option.
- You also have to input the file name you like and click the save button. This is where your captured desktop recording video file will be saved.
If you are using MacOS and wanted to record your desktop, follow the below steps.
Record Desktop Screen on Mac using VLC
1. Open VLC application on your Mac.
2. And choose the File option and choose the Open Capture Device or Press the Command + R button.
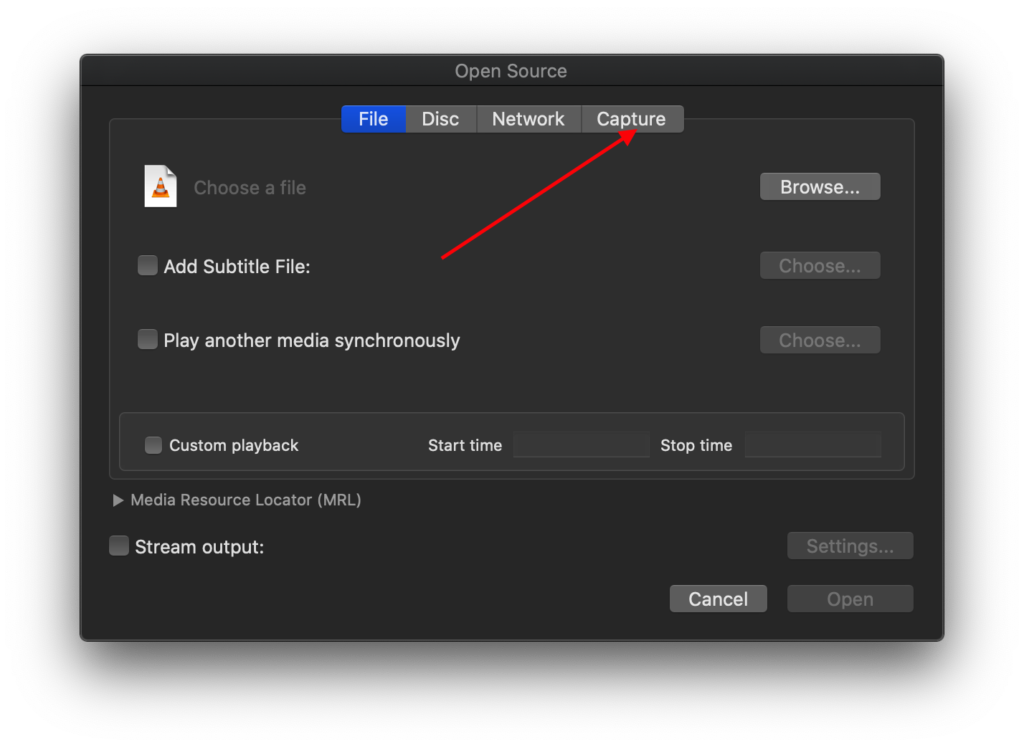
3. Then switch to the Capture tab at the top on the Open Source panel.
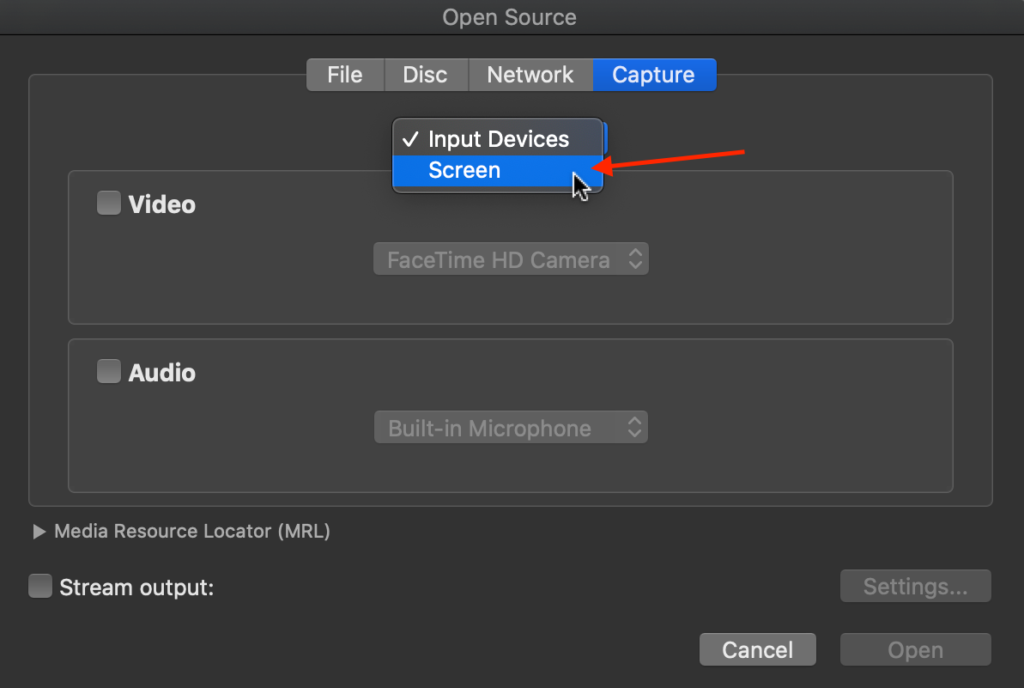
4. In the input device select the Screen option like in the screenshot below.
5. In the screen settings. Choose the resolution and also setup the FPS to 30 FPS or 60FPS as per your requirement.
6. Then Choose “Follow the mouse” option if you like. Also if you like to record audio from a device like a microphone you can choose that option here.
7. Click on the Open button when you are ready. Now your screen will be recorded along with your microphone. When you switch to another window it will automatically record that window if you have selected the “Follow the mouse” option.
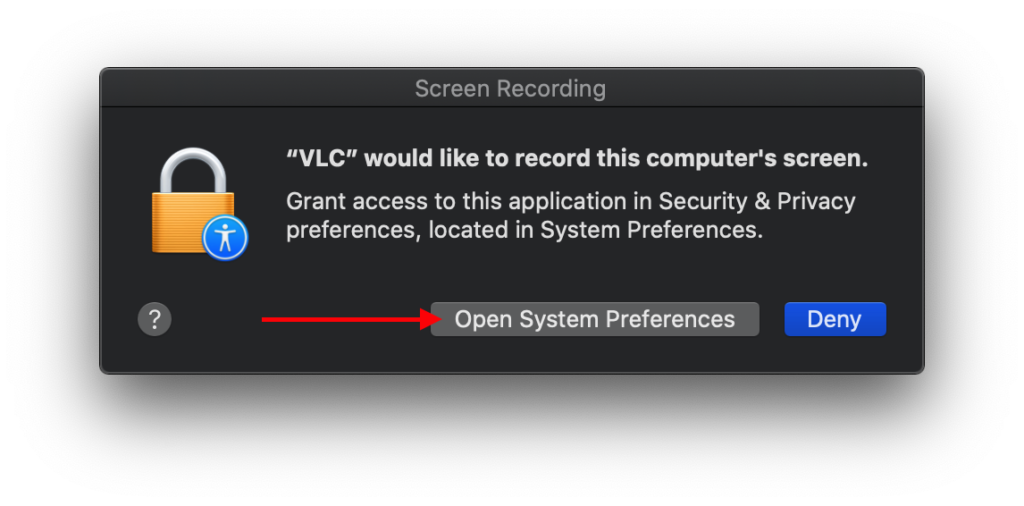
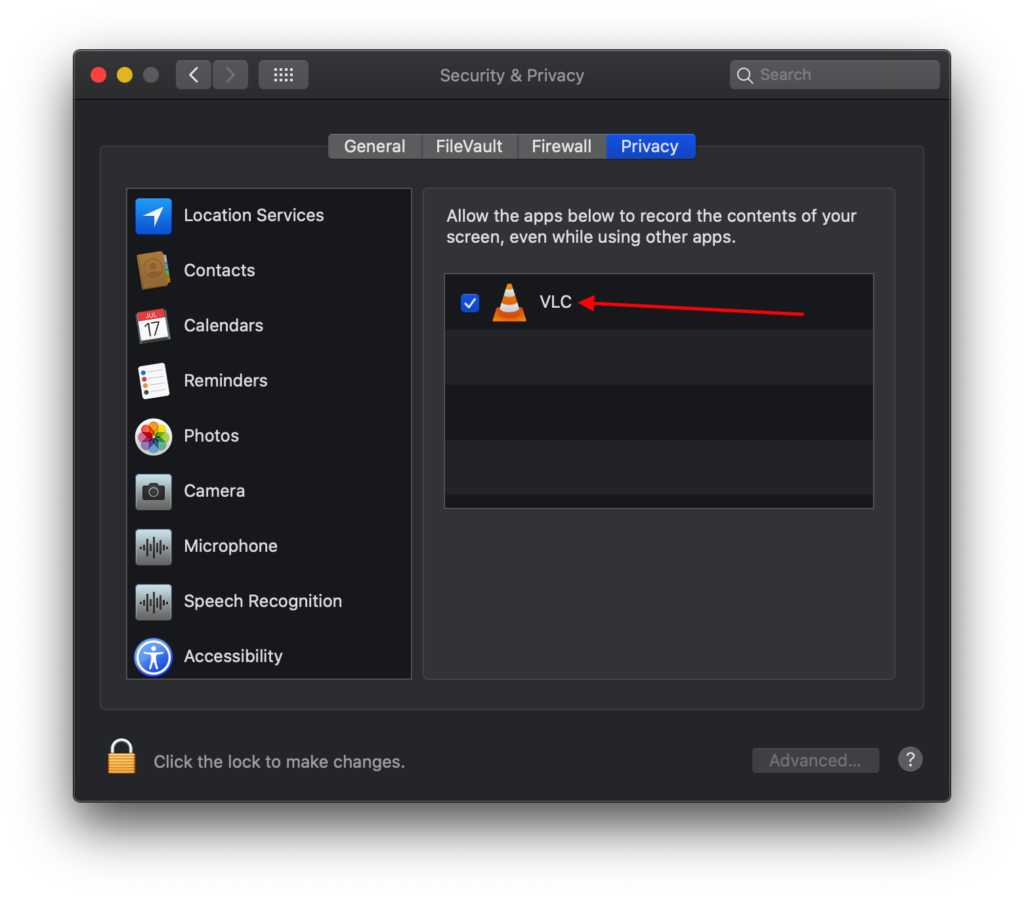
If you see a popup asking for permission for VLC to record your screen. Go to the system preferences and click on the VLC app in the security and privacy settings to give permission for VLC app to record your desktop.
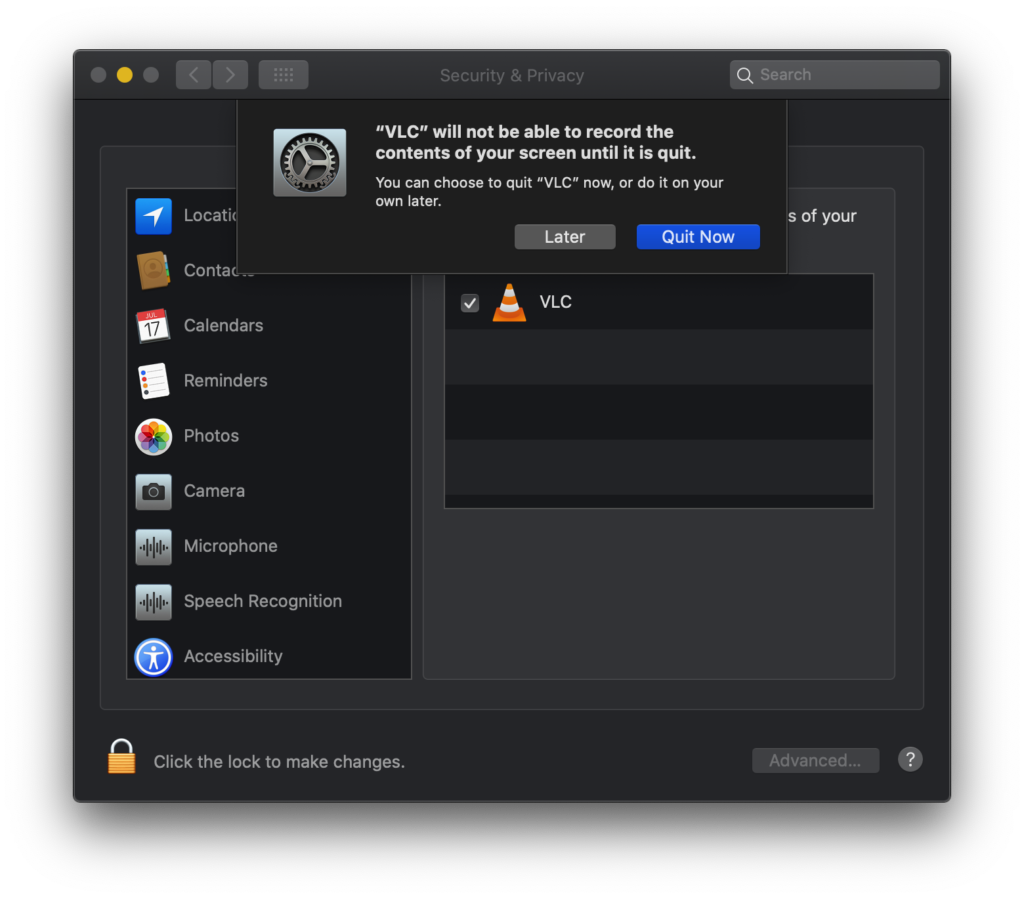
If it shows a popup like below select the quit now option to restart VLC before you start recording.
8. Now you have recorded your desktop. If you want to do a VLC screen capture along with audio, you can use the Audio option and choose microphone sound input along with it. Now you don’t have to use another software to record your computer screen.
I hope you were able to record your screen successfully just by using the VLC media player on your PC or Mac. Do share and comment below if you have any questions.